Printing
You can generate print previews for and print Logged Data as well as Analysis Windows.
Note: |
It could be possible that very fine lines will not be displayed in the print preview. This may be a result of a discrepancy between your screen and printer resolution. |
If you choose your colors, please consider that background colors will not be printed. For example, light colors against a black background are easy to see on screen, but your printed output will be difficult to read. |
Print Options
Before a print job starts printing, or before the Print Preview appears on your screen, WinDarab will display a dialog box with printing options.
”Layout” Tab
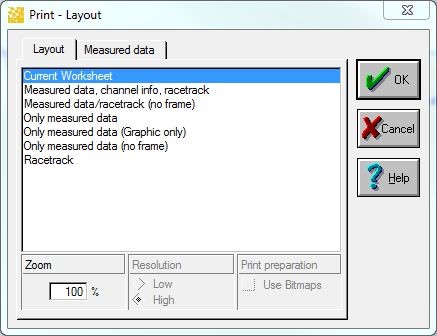
If more than one print layout is available for the window you want to print, you can select the desired layout in this tab.
”Logged Data” Tab
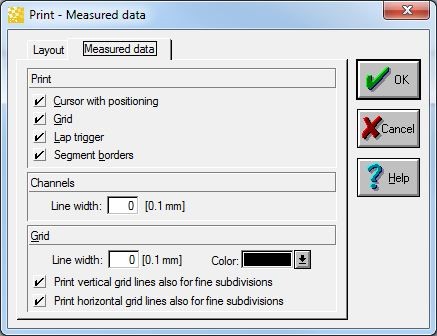
Use this tab to determine the details you want an Oscilloscope to contain for printing.
Print Preview
Use these steps to print a window:
- Arrange the window you want to print so that the data will be displayed in the desired form.
- Select “WinDarab-Button→ Print→ Print Preview” from the menu.
- A selection of available templates for printing windows now appears. Choose the template you want.
- The “Print Preview” window will now be displayed.
- Use this window to
- set a zoom factor (10 to 400 %)
- print a template.
- close the window.
Follow these steps to print a window directly:
Arrange the window you want to print so that the data is displayed in the desired form.
Select “WinDarab-Button→ Print→ Print” from the menu.
A selection of available templates may now appear. Choose the template you want.
The Windows “Print” dialog box appears next. Click on “OK”.
The template you have chosen will now be printed.
Note:
The Windows “Print” dialog box will only permit you to select your printer. All other settings have no effect.